一、环境准备
系统:Centos7.6
nginx:nginx-1.16.1-1.el7.ngx.x86_64.rpm
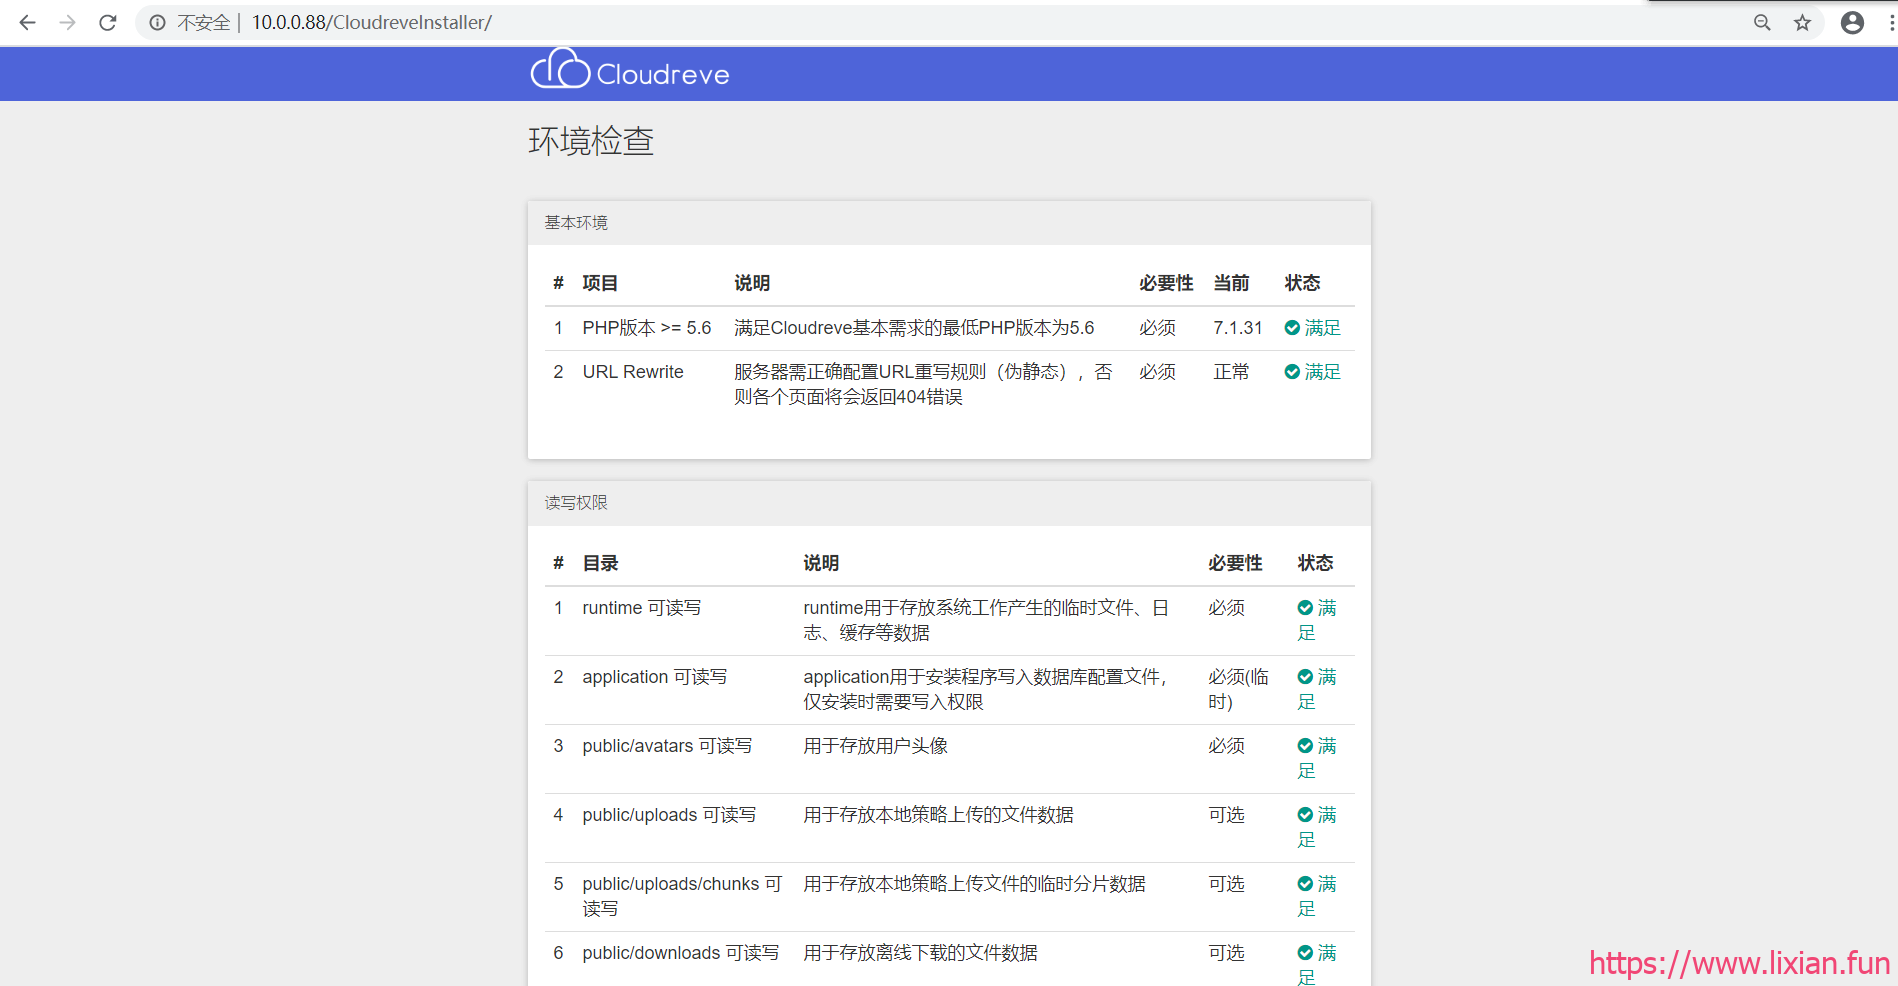
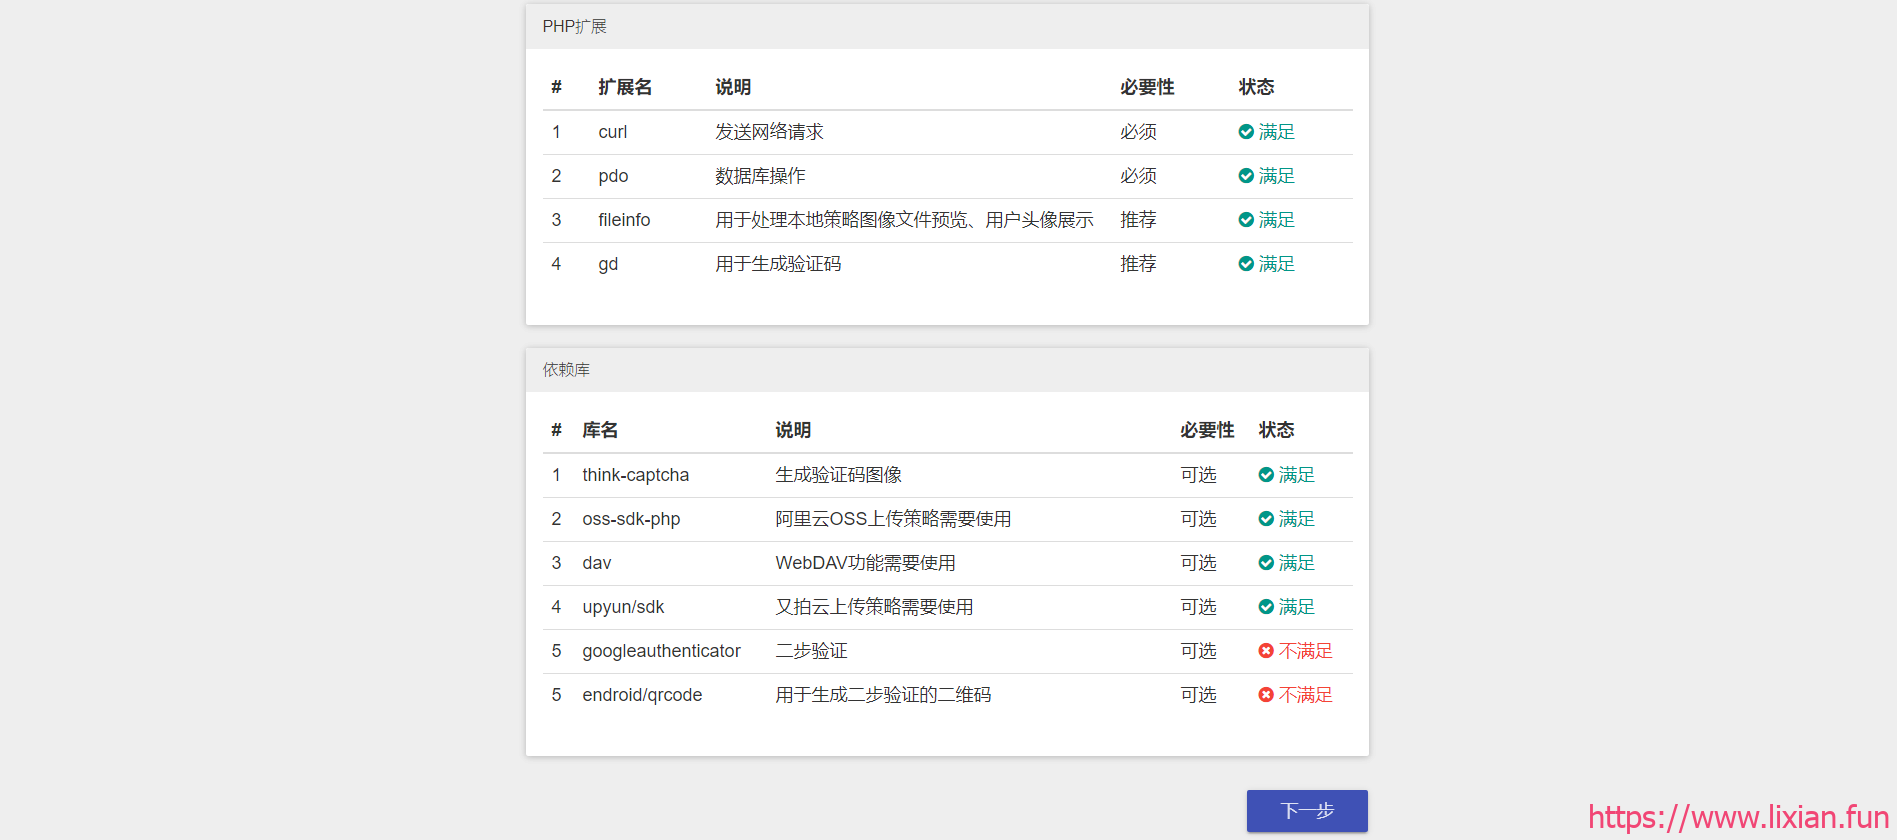
PHP5.6及以上,要求有curl、fileinfo、gd扩展。本次使用7.1版本本地rpm安装包php.tar.gz
Cloudreve网盘软件包:cloudserver.zip
二、搭建步骤
1.上传nginx和php安装包
[root@xian ~]# ls -l
total 20192
-rw-r--r-- 1 root root   784272 Mar  3 14:47 nginx-1.16.1-1.el7.ngx.x86_64.rpm
-rw-r--r-- 1 root root 19889622 Feb 25 11:35 php.tar.gz
2.安装nginx服务、php服务、数据库mariadb服务并启动
[root@xian ~]# yum localinstall -y nginx-1.16.1-1.el7.ngx.x86_64.rpm
[root@xian ~]# tar xf php.tar.gz
[root@xian ~]# yum localinstall -y *.rpm
[root@xian ~]# yum install -y mariadb-server mariadb
[root@xian ~]# systemctl restart nginx php-fpm mariadb
[root@xian ~]# systemctl enable nginx php-fpm mariadb
3.创建www管理用户
groupadd www -g 666
useradd www -g 666 -u 666
4.配置nginx和php服务使用www管理
将配置文件里的Apache或nginx改成www,并重启服务生效
[root@xian ~]# sed -i 2s#nginx#www#g /etc/nginx/nginx.conf
[root@xian ~]# sed -i 8s#apache#www#g /etc/php-fpm.d/www.conf
[root@xian ~]# sed -i 10s#apache#www#g /etc/php-fpm.d/www.conf
[root@xian ~]# systemctl restart nginx php-fpm mariadb
5.配置数据库密码并创建cloudreve数据库
[root@xian ~]# echo "123456" |xargs mysqladmin -u root password
[root@xian ~]# mysql -uroot -p123456
Welcome to the MariaDB monitor.  Commands end with ; or \g.
Your MariaDB connection id is 4
Server version: 5.5.64-MariaDB MariaDB Server

Copyright (c) 2000, 2018, Oracle, MariaDB Corporation Ab and others.

Type 'help;' or '\h' for help. Type '\c' to clear the current input statement.

MariaDB [(none)]> create database cloudreve;
Query OK, 1 row affected (0.00 sec)
6.删除默认nginx服务conf文件并编写cloud.conf文件
[root@xian ~]# rm -rf /etc/nginx/conf.d/default.conf
[root@xian ~]# vim /etc/nginx/conf.d/cloud.conf
将下面的代码写入到cloud.conf里,注意:如果有域名需要域名解析
server {
    listen 80;
    server_name 10.0.0.88;   #域名或本机IP地址

          location / {
        root /code;    #站点目录
        index index.html index.php;
         if (!-e $request_filename) {

   rewrite  ^(.*)$  /index.php?s=/$1  last;

   break;
    }


}
location ~ \.php$ {
        root /code;  #站点目录
        fastcgi_pass   127.0.0.1:9000;
        fastcgi_index  index.php;
        fastcgi_param  SCRIPT_FILENAME $document_root$fastcgi_script_name;
        include fastcgi_params;
          }
}
7.检查nginx配置文件并重启nginx服务
[root@xian ~]# nginx -t
nginx: the configuration file /etc/nginx/nginx.conf syntax is ok
nginx: configuration file /etc/nginx/nginx.conf test is successful
[root@xian ~]# systemctl restart nginx
8.创建站点目录,并上传代码包、解压、授权
[root@xian /code]# mkdir /code
[root@xian /code]# cd /code/
[root@xian /code]# rz
[root@xian /code]# ls -l
[root@xian /code]# unzip cloudserver.zip
[root@xian /code]# chown -R www:www /code/
